If we talk about desktop computers or laptops, the motherboard is one of the crucial components and is known as the heart of a computer. Understanding the components inside your PC can help you in multiple ways. For example, you can’t purchase a processor or RAM without knowing the motherboard model first. You can’t even update your BIOS or upgrade the RAM without knowing the motherboard. Now the actual question is, is it possible to fin the Motherboard model without opening the PC’s cabinet or case? It’s possible; you don’t need to open your PC’s case or check the purchase receipts to find the Motherboard model.
Steps to Check Motherboard Model On Windows 10/11
Windows 10 lets you check your Motherboard model in just a few easy steps. So, in this article, we will share a step-by-step guide on how to check what motherboard you have in Windows 10. Let’s check out.
1. Using Run Dialog box
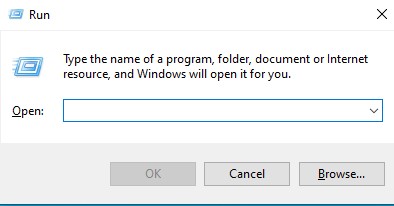
In this method, we are going to use the RUN dialog box to find the motherboard model. So, here’s how to check your motherboard brand and model in Windows 10. Step 1. First of all, press Windows Key + R on your keyboard. This will open the RUN dialog box.
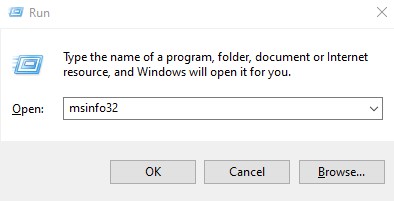
Step 2. On the RUN Dialog box, enter ‘msinfo32’ and click on the ‘Ok‘ button.
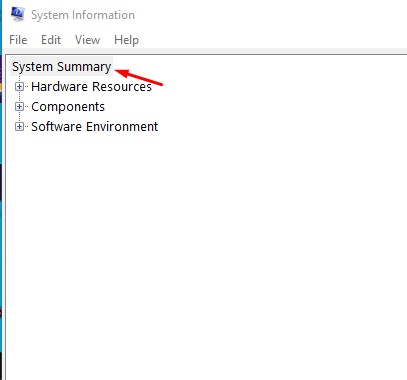
Step 3. On the System Information page, click on the ‘System Summary’ tab.
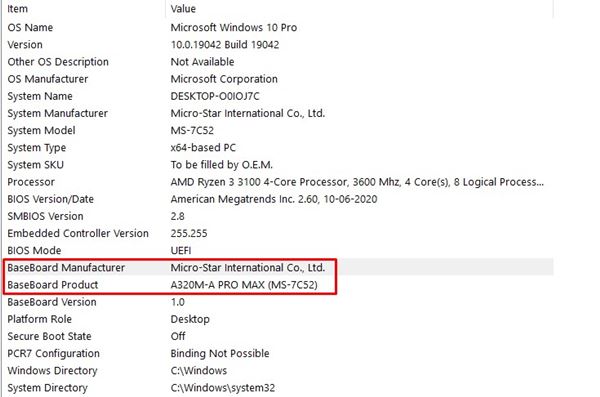
Step 4. On the Right pane, check the ‘BaseBoard Manufacturer’ and ‘BaseBoard Product’
That’s it! You are done. This is how you can check what motherboard your PC has.
2. Using Command Prompt
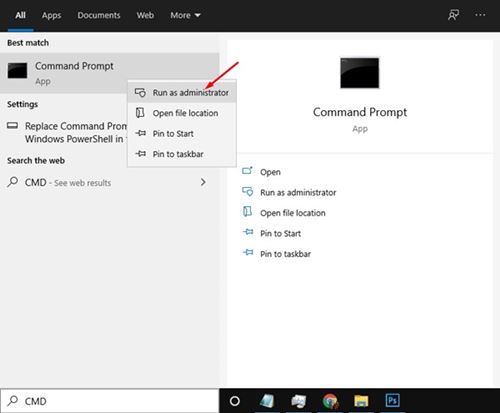
In this method, we will use the Command Prompt to check out the motherboard brand and model. So, here’s how to use Command Prompt to find information about the PC’s motherboard. Step 1. First of all, open Windows search and type in ‘CMD‘ Step 2. Right-click on the Command Prompt and select ‘Run as Administrator’ option.
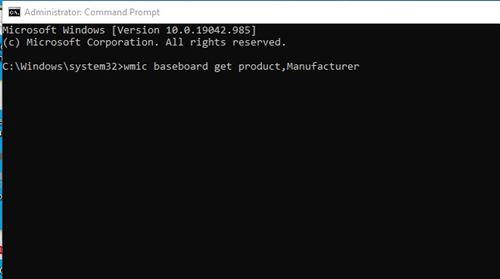
Step 3. On the Command Prompt, enter the following command: wmic baseboard get product,Manufacturer
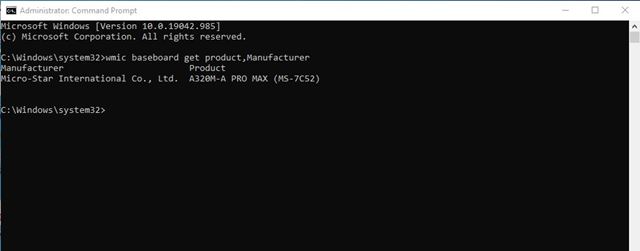
Step 4. Command Prompt will now show you the Motherboard manufacturer and model number.
That’s it! You are done. This is how you can use CMD to check the motherboard model and version in Windows 10.
3. Using CPU-Z
Well, CPU-Z is a third-party application for Windows that offers you information related to the hardware components installed on your PC. For example, you can use CPU-Z to check what motherboard your PC has. Here’s how to use CPU-Z in Windows 10.
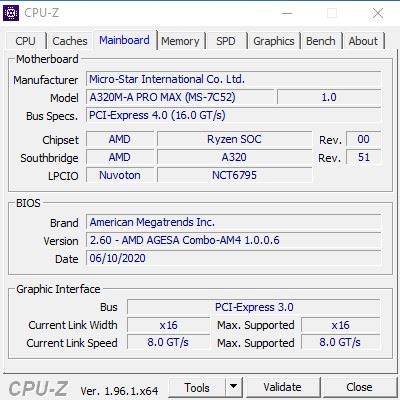
Step 1. First of all, download & install CPU-Z on your Windows PC. Step 2. Once installed, open the program from the desktop shortcut. Step 3. On the main interface, click on the ‘Mainboard‘ tab. Step 4. The Mainboard section will show you the Motherboard Manufacturer and model number. That’s it! You are done. This is how you can use CPU-Z to find out your motherboard manufacturer and model. So, this guide is all about how to check what mother your PC has. I hope this article helped you! Please share it with your friends also. If you have any doubts related to this, let us know in the comment box below.
Δ